News » Pumpkin
-
Pumpkin carving for Halloween - that's how it's done

Halloween is getting closer and with it the time of pumpkins has begun in Europe as well. The vegetables are not only very popular in the soup pot, they also decorate the house and garden at this time of the year. The hunt for the largest, most beautiful and bright orange pumpkins starts as early as September. Pumpkin carving is one of the activities in kindergartens, schools and at home that ushers in autumn like no other. Buying a Halloween pumpkin just like that would be boring. So how about this year you get the whole family around one table and make the Halloween pumpkins yourself, here's how to do it Create an effective and durable Halloween decoration with a few tricks.
Pumpkin carving made easy
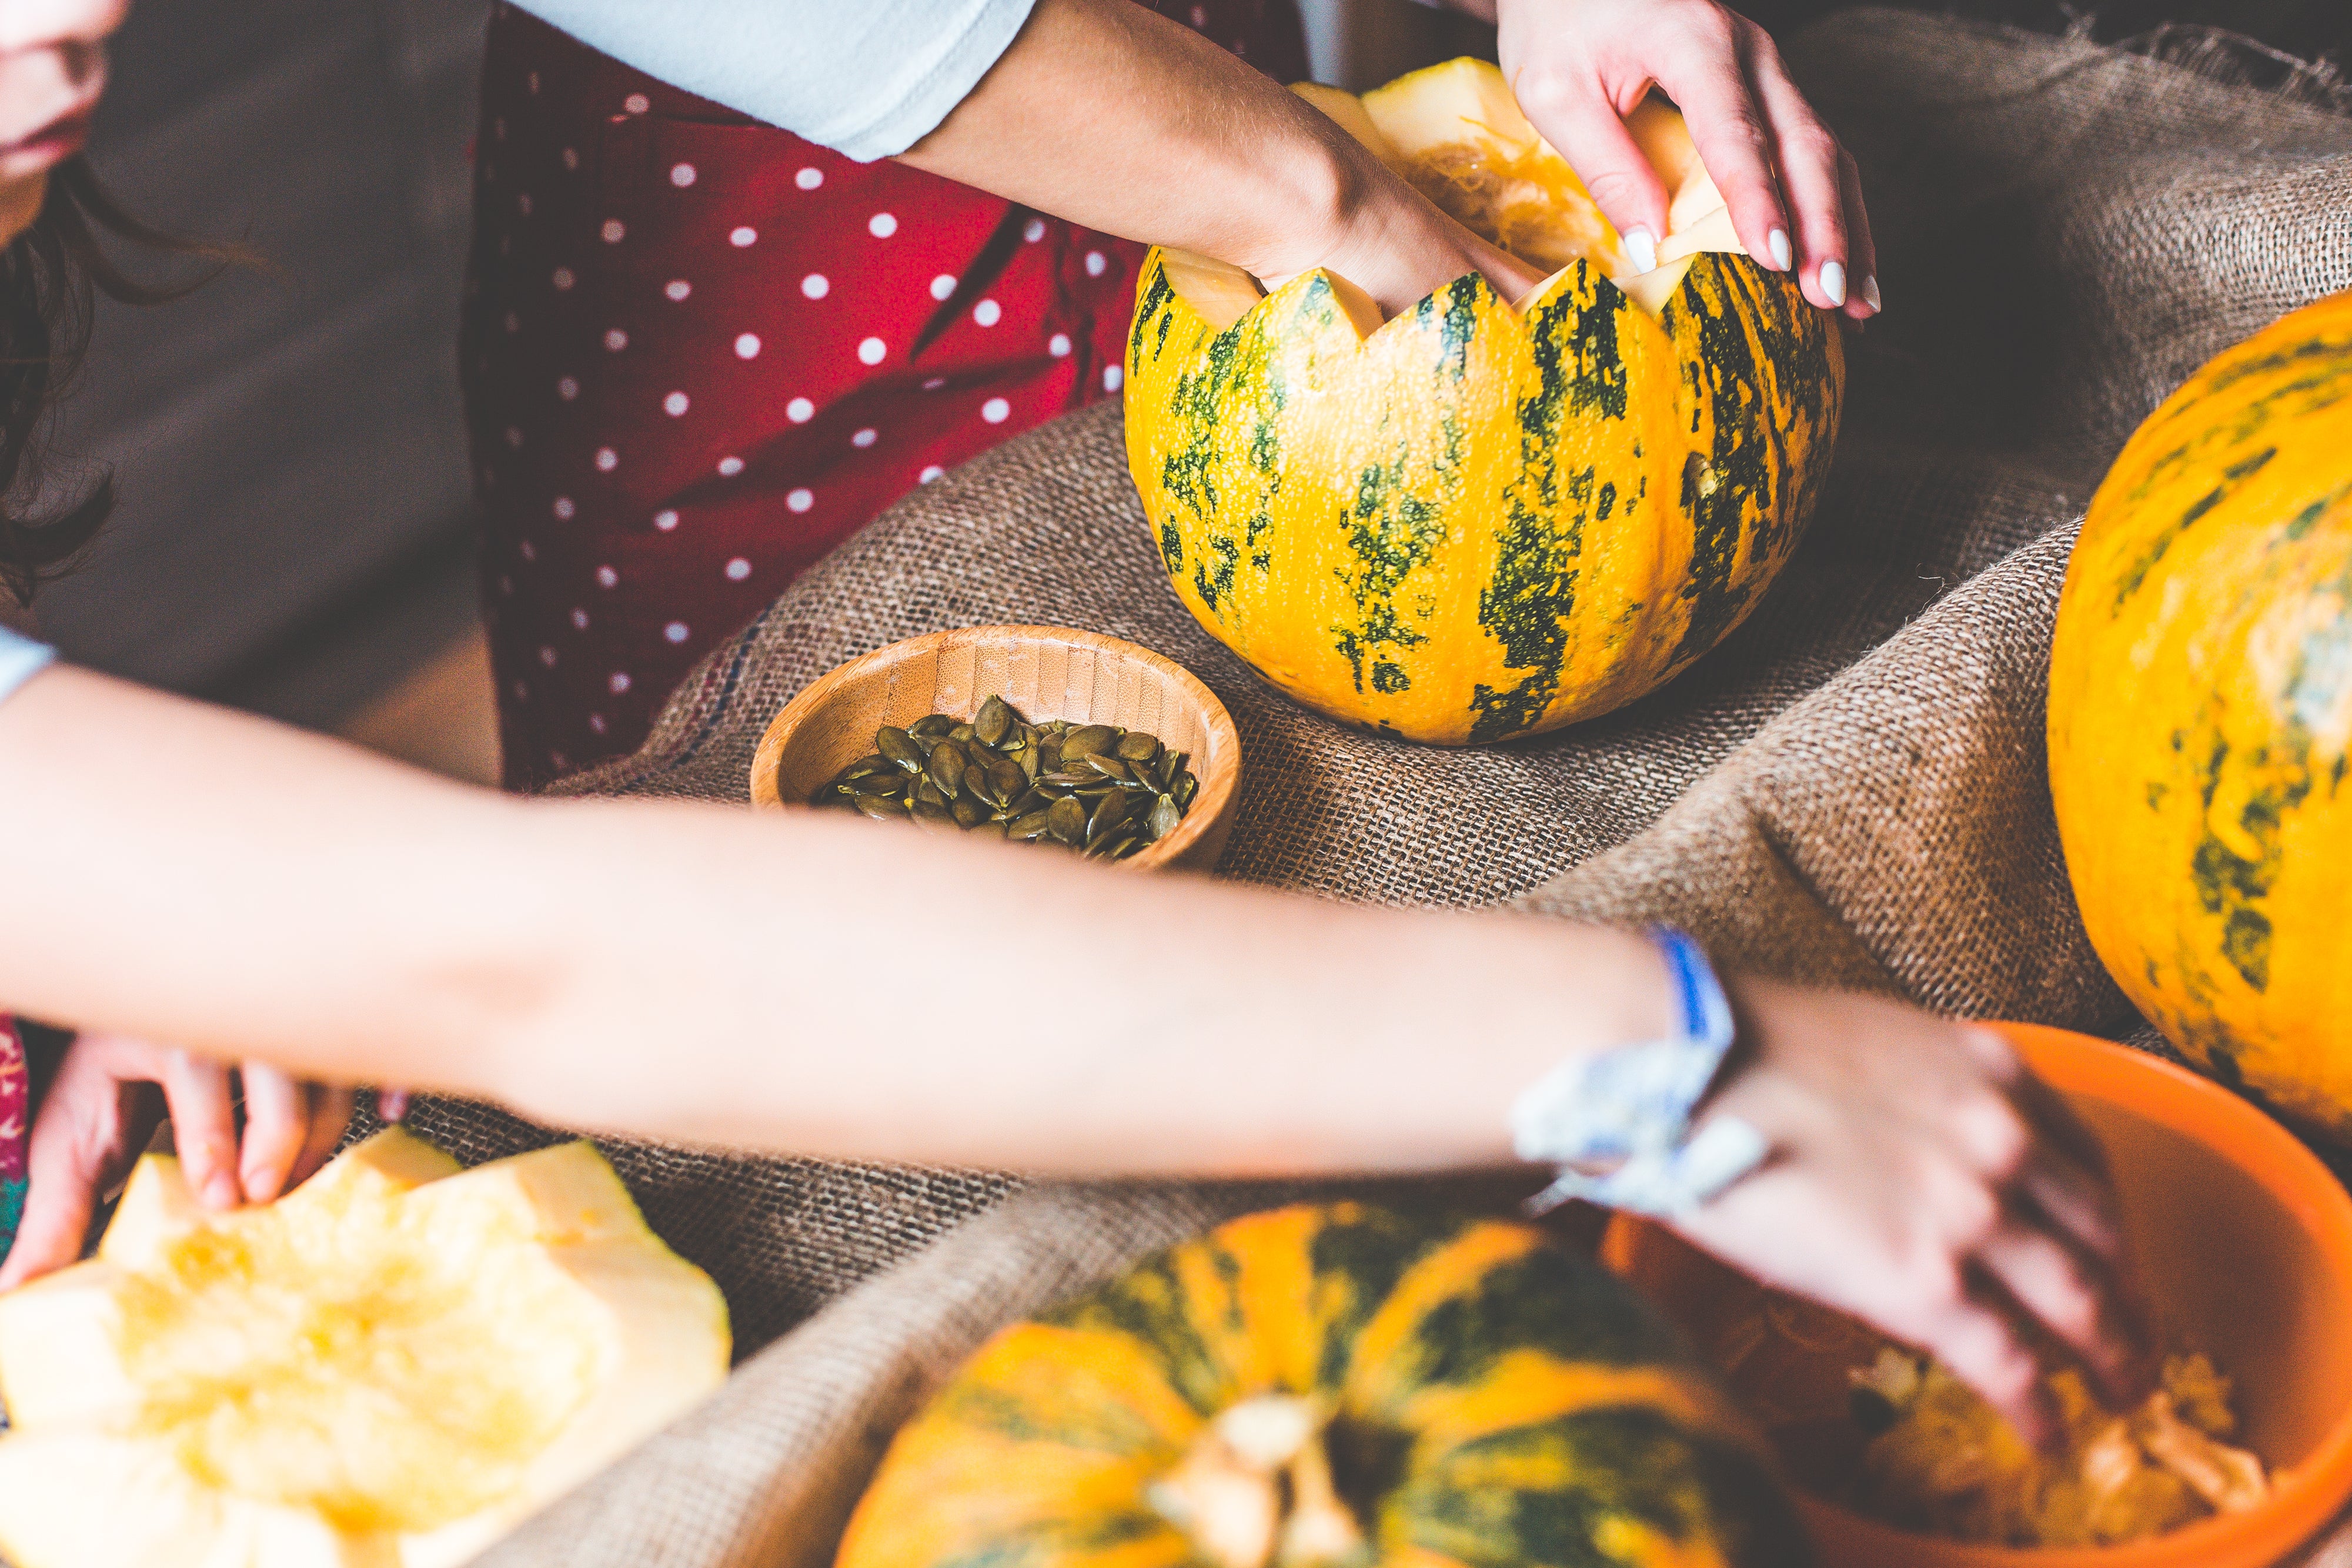
Once you have found a pumpkin that is suitable as a Halloween decoration and is large enough to carve a face into, you can start. Part of the preparation for carving pumpkinthe procurement of suitable tools. Especially anyone who works with children should make sure that there is no risk of injury when working with knives. A knife is inevitable to sever the "lid". This is the first step in pumpkin carving. After the outside of the pumpkin has been cleaned and any earth debris has been removed, you should make the cut with a pointed and particularly sharp knife. It is best to mark the cut edge before you begin.

The inner pulp of the pumpkin can be easily removed with an ice cream scoop or a spoon. Depending on the type of pumpkin, it may make sense to wear disposable gloves or rubber gloves, because many types of pumpkin leave stubborn reddish discoloration on the skin. If the pumpkin is particularly soft, parts of the inside can also be removed by hand. Use the ice cream scoop or a spoon to scrape out all the soluble meat so that only the shell remains. The thinner it is, the better the effect that a light has on the inside of the Halloween pumpkin. The pulp should of course not be thrown away, because it can be made into a soup or other meal. It would be a shame to throw everything away.
The face makes the difference
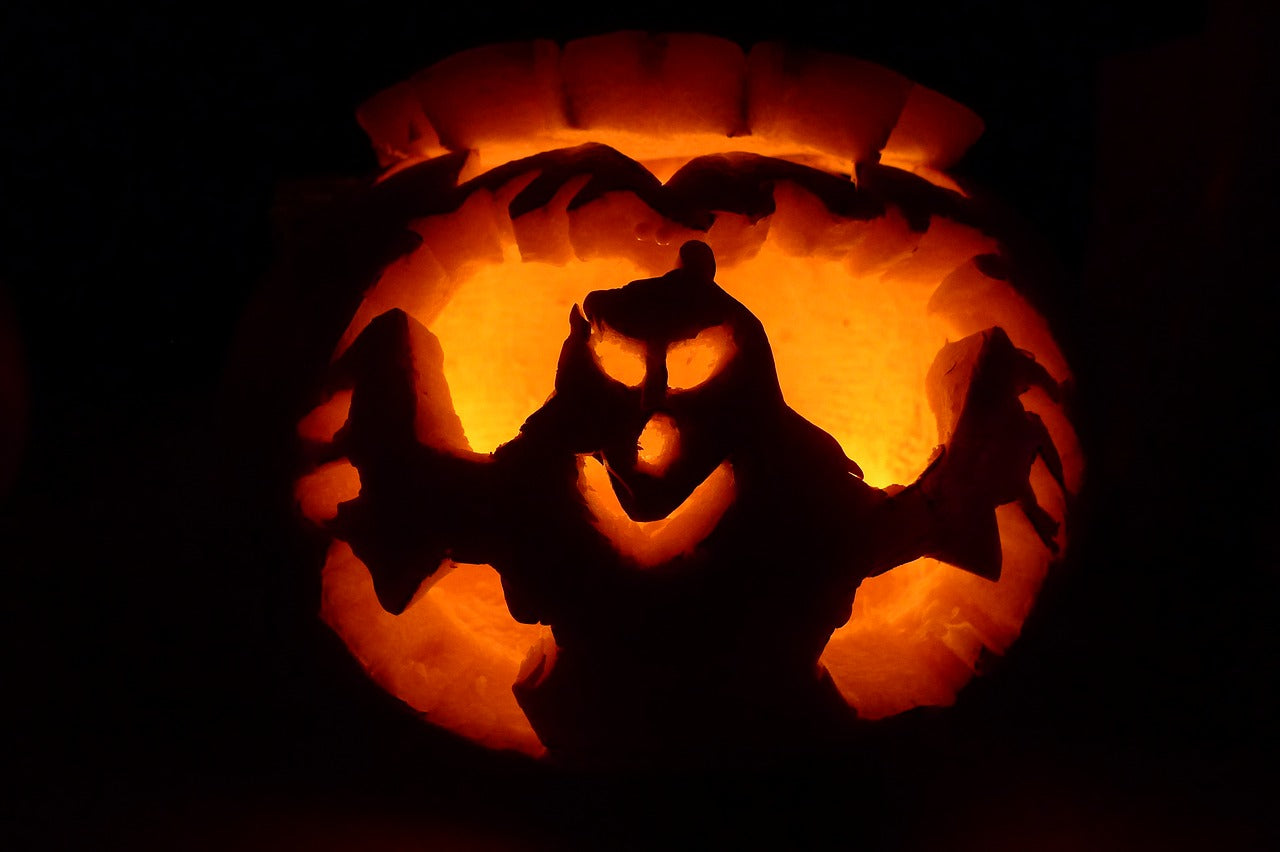
To turn the pumpkin into a real Halloween pumpkin, it needs a face. The best way to find good ideas for your Halloween decoration is to do a little research on the Internet. On numerous craft advice pages and in decoration forumsyou will find countless patterns and templates, which you can transform into a more individual Halloween decoration with a little creativity. There are no limits to your imagination. The only restriction is the size of the pumpkin. However, templates that are too large can be shrunk by 10 or 20 with a standard copier to fit your pumpkin. Attach the template to the pumpkin with adhesive tape. When the paper is stuck, take a small wheel or fork andtransfer the edges to the peel of the pumpkinso that after removing the paper, the outlines can be seen in the form of small depressions in the pumpkin skin. Now cut the contours of the mouth and eyes out of the pumpkin skin along these lines. You can already see the face of your Halloween pumpkin in front of you.
Be very careful when cutting out delicate areas so that nothing breaks out. When carving pumpkins with the whole family, it makes sense to choose motifs for children that have fewer small nooks and crannies and leave the more complicated shapes when carving pumpkins to adults. A tip: Not only faces are suitable for the Halloween pumpkin but also the outline of a bat or letters and names as Halloween decorations.
Carve pumpkin and preserve it
Around HalloweenTo preserve pumpkin a little longer, there are also a few tricks. Usually, pumpkins begin to go moldy after a week in a damp and warm environment. In a dry environment, the Halloween pumpkin dries out just as quickly. At temperatures below freezing point, i.e. when the pumpkin sleeps outside, freezing and thawing accelerates the decay process. Decay cannot be prevented entirely, but you can try to delay it a little. You can, for example, smear the cut edges with a little clear petroleum jelly and keep them supple longer. You can keep the pumpkin from drying out if you put it in water for an hour after a week and then let it drain again. If you only use your Halloween pumpkin as a decoration for a few hours, the best strategy is to keep it in the refrigerator.
More tips for the Halloween pumpkin
 The Halloween pumpkins workmost beautiful when they are lit from within. Tea lights go out very quickly with the wind, especially when the pumpkin is set up outside. Here it is recommendedto put the tealight in a glass, to prevent this. A simple pickle jar is sufficient for this. It doesn't have to be expensive glass because you can't see it from the outside anyway. If you want to be independent of the weather or want to reduce the risk of fire in your home, you should get these small electric tea lights or glow sticks to illuminate the pumpkin from the inside.
Ideally, you combine a pumpkin with numerous other Halloween decorations.Ghosts, skeletons and much more can be found on partypanda.ch


 The Halloween pumpkins workmost beautiful when they are lit from within. Tea lights go out very quickly with the wind, especially when the pumpkin is set up outside. Here it is recommendedto put the tealight in a glass, to prevent this. A simple pickle jar is sufficient for this. It doesn't have to be expensive glass because you can't see it from the outside anyway. If you want to be independent of the weather or want to reduce the risk of fire in your home, you should get these small electric tea lights or glow sticks to illuminate the pumpkin from the inside.


